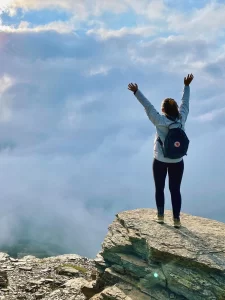
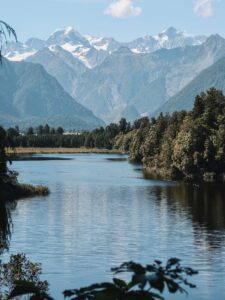
Rocky Mountain National Park is one of the most beautiful National Parks in the United States. Located in northern Colorado, the park offers fun hikes, stunning views, and lots of opportunities to see wildlife. This two-day Rocky Mountain National Park itinerary hits all of the top tourist sites, hikes, and things to see in the park.
Disclosure: Some of the links below are affiliate links. When you purchase through links on my site, I may make a small commission (at no extra cost to you!).
Things to know before visiting
Entrance fees
As of July 2022, a 1-day vehicle entrance pass costs $30 USD. If you’re visiting for more than one day, you’ll need to spring for the 7-day pass for $35. Entrance fees can be paid in advance on the NPS website or through the Recreation.gov app.
If you know you’ll be visiting multiple parks within one year, it’s worth it to get an America the Beautiful pass. For $80, you get unlimited entry to all National Parks and over 2,000 federal recreation sites for a year.
Timed entry permit system
Between May 27 and October 10, 2022, you’ll also need a timed entry permit reservation to enter the park at peak hours.
For all areas of the park except Bear Lake Road Corridor, you’ll need a reservation between 9 AM and 3 PM. If you’re planning on driving down Bear Lake Road Corridor, you’ll need a reservation between 5 AM and 6 PM. There is a reservation fee of $2 USD to book a timed entry permit.
Reservations can be booked online in advance. They do sell out, so if you know you’ll be at the park on a certain date, I would get one as soon as possible. 20% of reservation spots are held for last-minute bookings, which open the night before at 5 PM Colorado time. We were able to snag our desired entry time the night before, but you need to be quick! All the spots sold out within about 10 minutes.
If you weren’t able to get a timed entry reservation, don’t fret! You can always enter the park before or after peak hours (I’d recommend before — that way, you’re more likely to avoid the afternoon storms that plague the summer months!).
Altitude
The altitude in the park is no joke, especially if you’re not used to it! The highest point in Rocky Mountain National Park, Longs Peak, stands at a whopping 14,259 ft (4,346 m). At elevations over 10,000 ft (3,048 m), 75% of people experience some degree of altitude sickness.
It’s a good idea to take it easy, especially in the first few days. Drink a lot of water and go slooowly if you’re hiking.
Afternoon storms
In the summer, Rocky Mountain National Park usually experiences afternoon storms. If you’ve ever been to Florida, it’s surprisingly pretty similar — the heat builds throughout the day, it rains for about an hour, and then the weather clears up.
Make sure to start any longer hikes earlier in the day. You’ll want to be back below the tree line at noon to avoid any inclement weather.
Park entrances
There are three entrances to the park: Beaver Meadows and Fall River to the east and Grand Lake to the west.
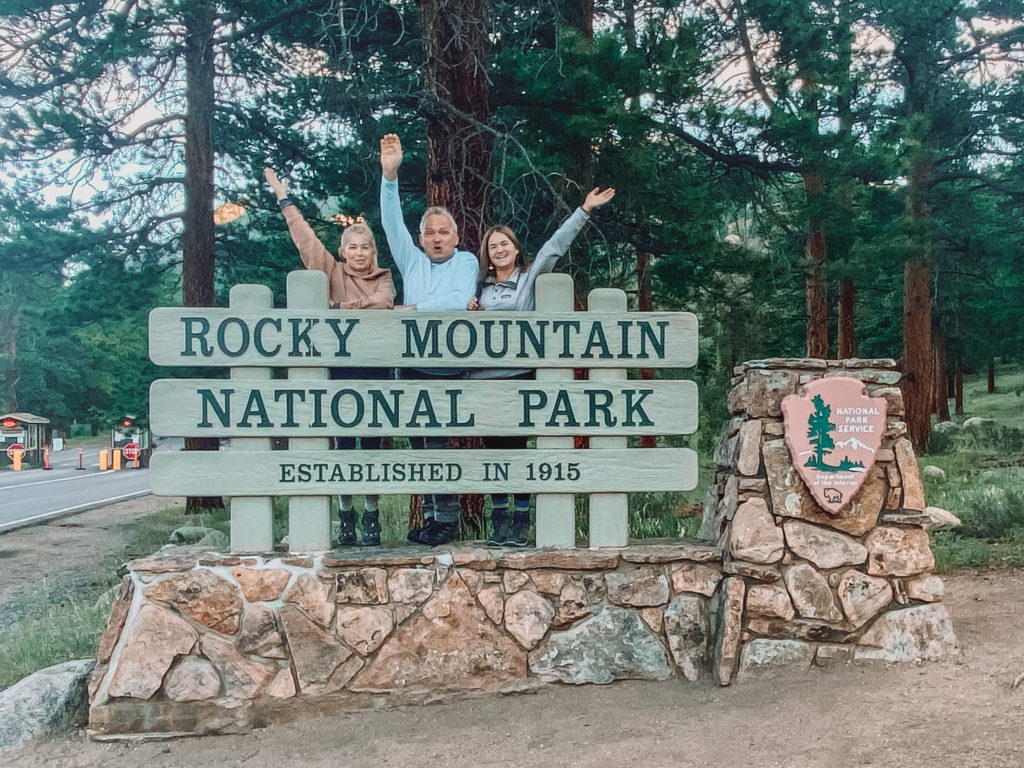
You’ll find a Rocky Mountain National Park sign near each entrance, giving you the opportunity for a (very cheesy) family photoshoot!
2-day Rocky Mountain National Park itinerary
Day 1: Bear Lake Corridor & Estes Park
Morning hike at Bear Lake Trailhead
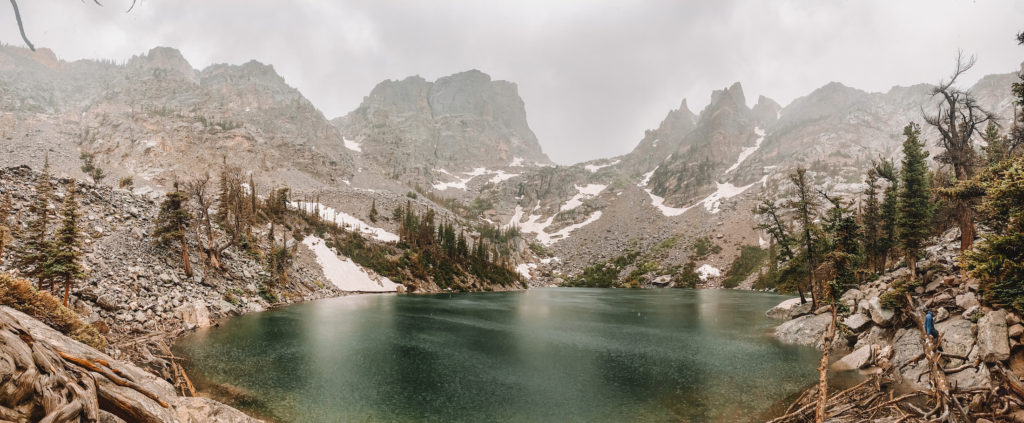
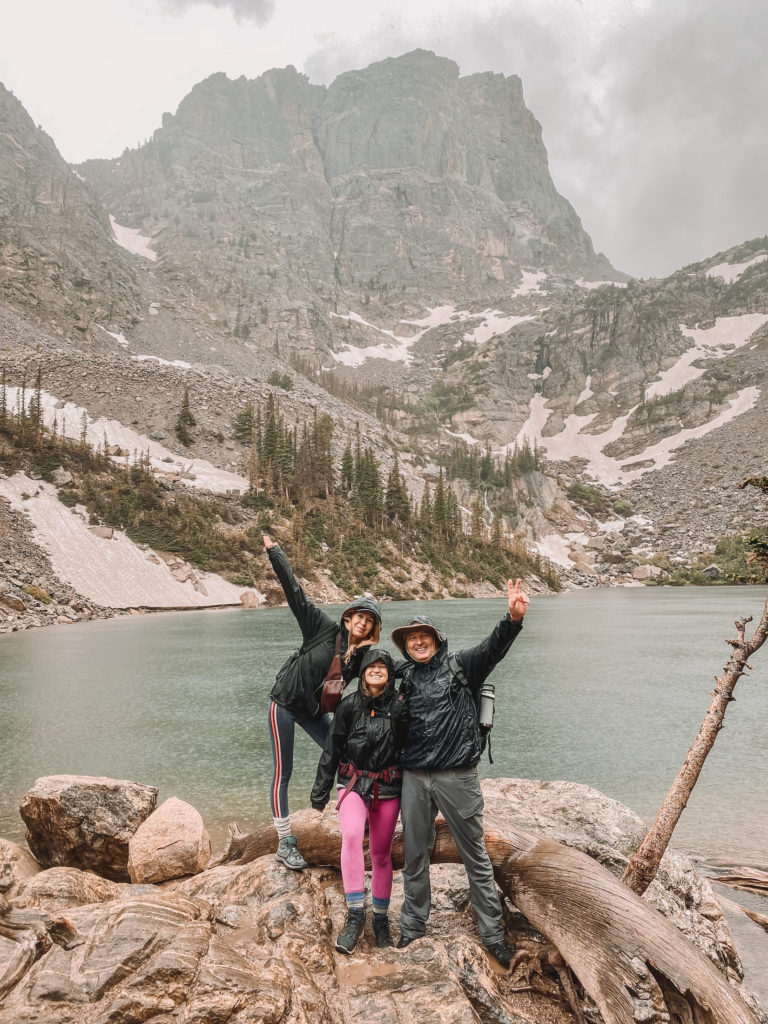
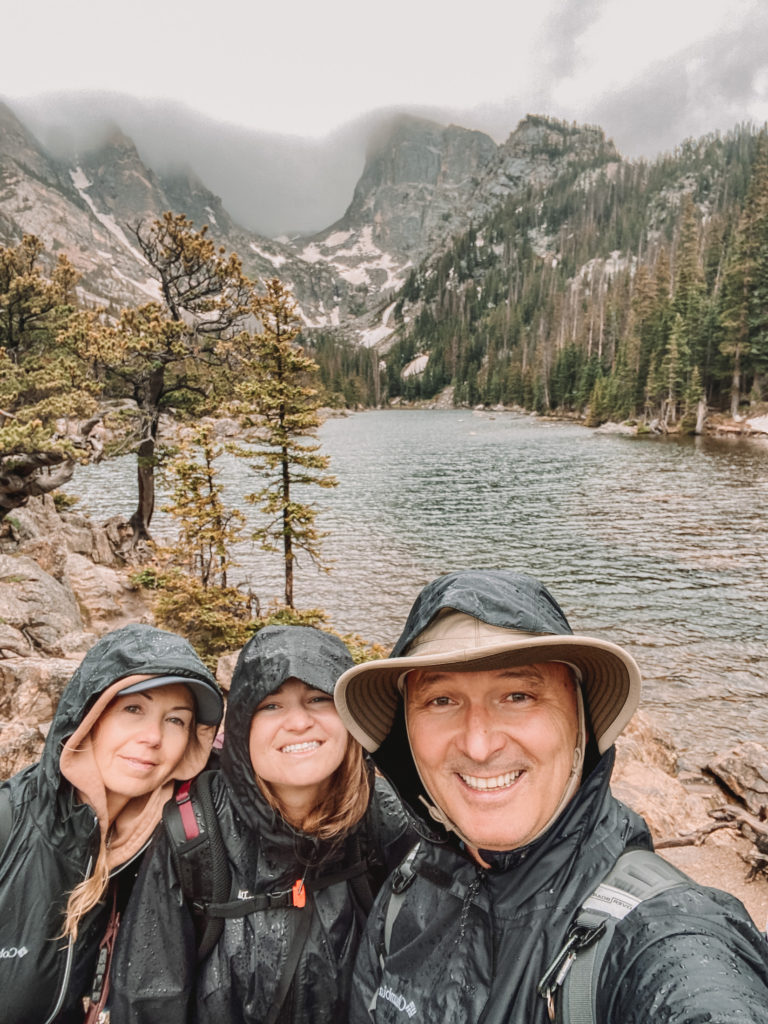
Start the first day of your 2-day Rocky Mountain National Park itinerary off with a dazzling hike to several alpine lakes. The Bear Lake Trailhead is great because there are several options of varying lengths and difficulties!
If you start early enough, you’ll be able to snag a parking spot at the Bear Lake Trailhead. Otherwise, you’ll park at RMNP Park & Ride parking lot and take the free shuttle down the road. We ended up taking the shuttle and it was an easy and efficient experience. The shuttle also makes stops at Bierstadt Lake Trailhead and Glacier Gorge Trailhead.
From the trailhead, we started by walking the Bear Lake Nature Trail (0.7 mi/1.1 km). We then connected to the Emerald Loop Trail (3.2 mi/5.1 km), which passes Nymph Lake, Dream Lake, and Emerald Lake. If you want to extend your hike even further, you can add on a detour to Lake Haiyaha (1.6 mi/2.6 km).
There are other hikes that start from the Bear Lake Trailhead as well. For a longer hike, you can opt for Jewel Lake (7.4 mi/12 km, 1,400 ft/426 m elevation gain) or Sky Pond (8.1 mi/13 km, 1,765 ft/538 m elevation gain).
For another short hike in the Bear Lake area, Alberta Falls (1.6 mi/2.6 km) and Sprague Lake (0.8 mi/1.3 km) are great options.
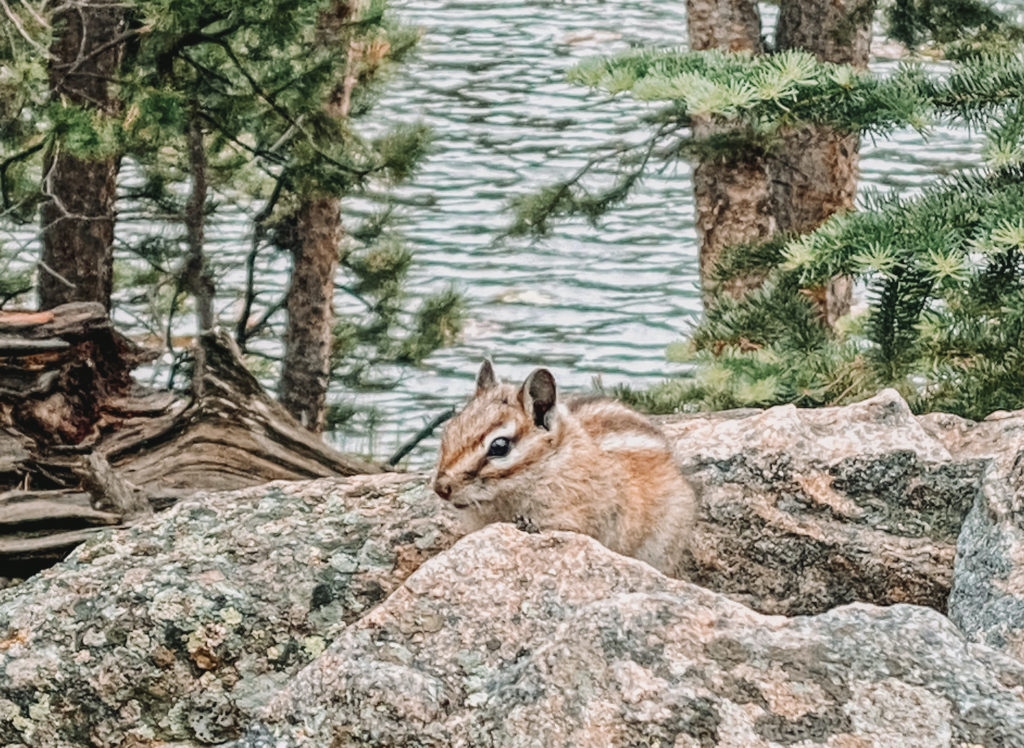
Lunch at The Post Chicken & Beer
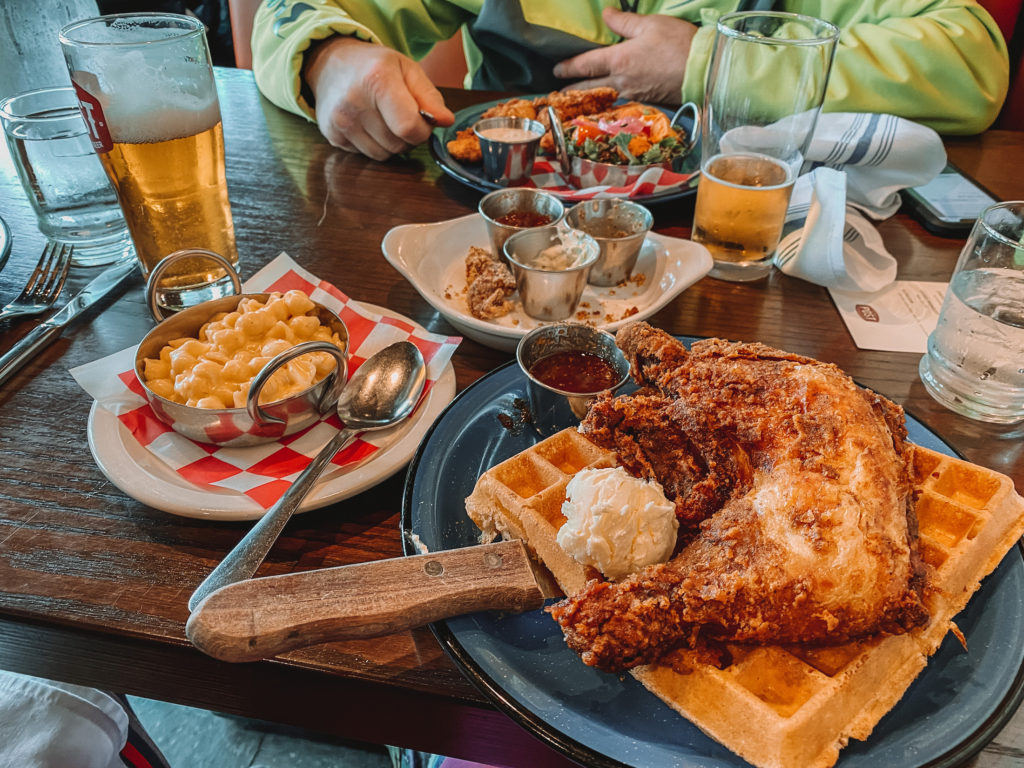
After your hike, drive to the town of Estes Park for some comfort food. The Post is a casual Southern restaurant on the grounds of the iconic Stanley Hotel. I’m not exaggerating when I say that they have the best fried chicken I’ve ever eaten. The crispy thigh fries, macaroni and cheese, and chicken and waffles were exquisite. Make sure you get all of the sauces!
If you’re not in the mood for chicken, SEASONED – An American Bistro and Ed’s Cantina & Grill also have great reviews.
Address: 333 E Wonderview Ave, Estes Park
Explore Estes Park
The rest of your afternoon will be spent exploring the charming mountain town of Estes Park.
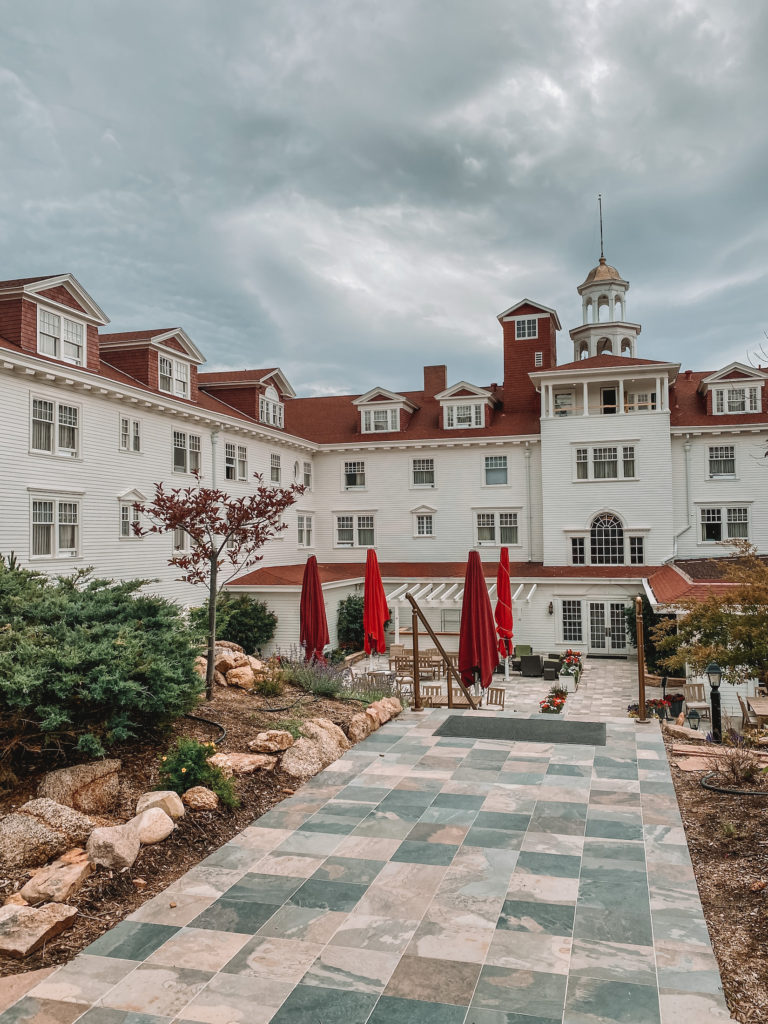
Your first stop after lunch is the Stanley Hotel. Horror fans will appreciate the fact that this hotel was the inspiration behind Stephen King’s bestselling novel The Shining. Built in 1909, the Stanley Hotel is said to be haunted by its former guests and owners.
The hotel also runs nightly ghost tours around the property. Tickets cost $30 and include 60 minutes of history and spooky tales.
Afterwards, walk or drive towards downtown Estes Park. You can walk along the banks of the Big Thompson and Fall Rivers and window shop at the numerous gift shops in the area.
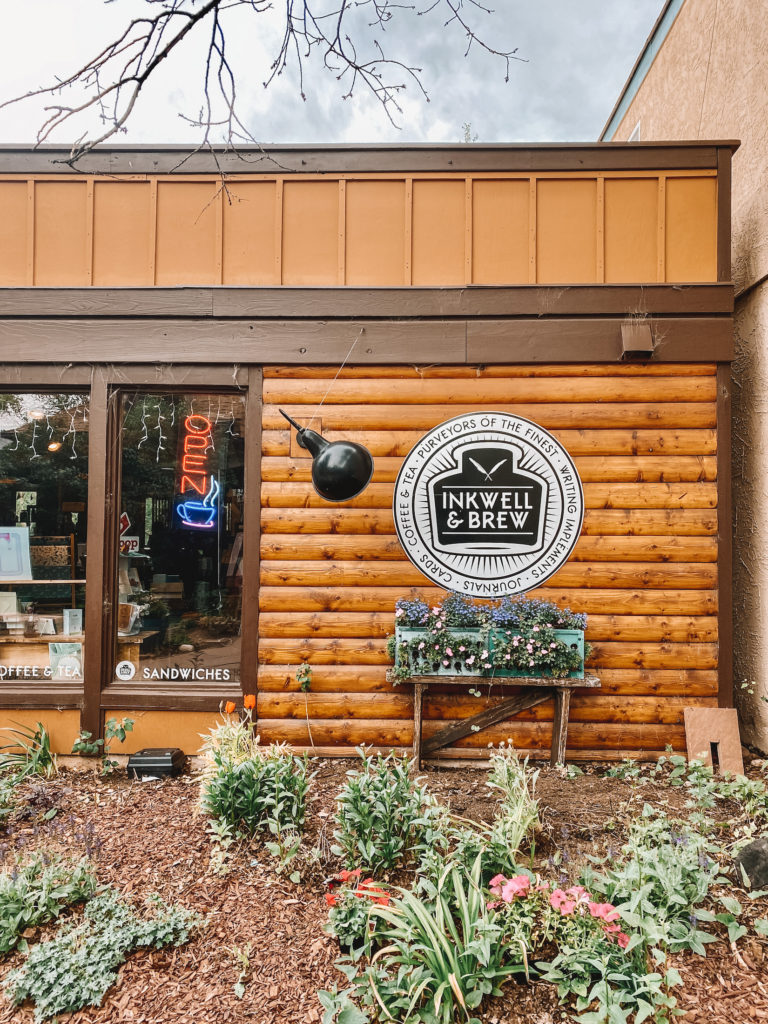
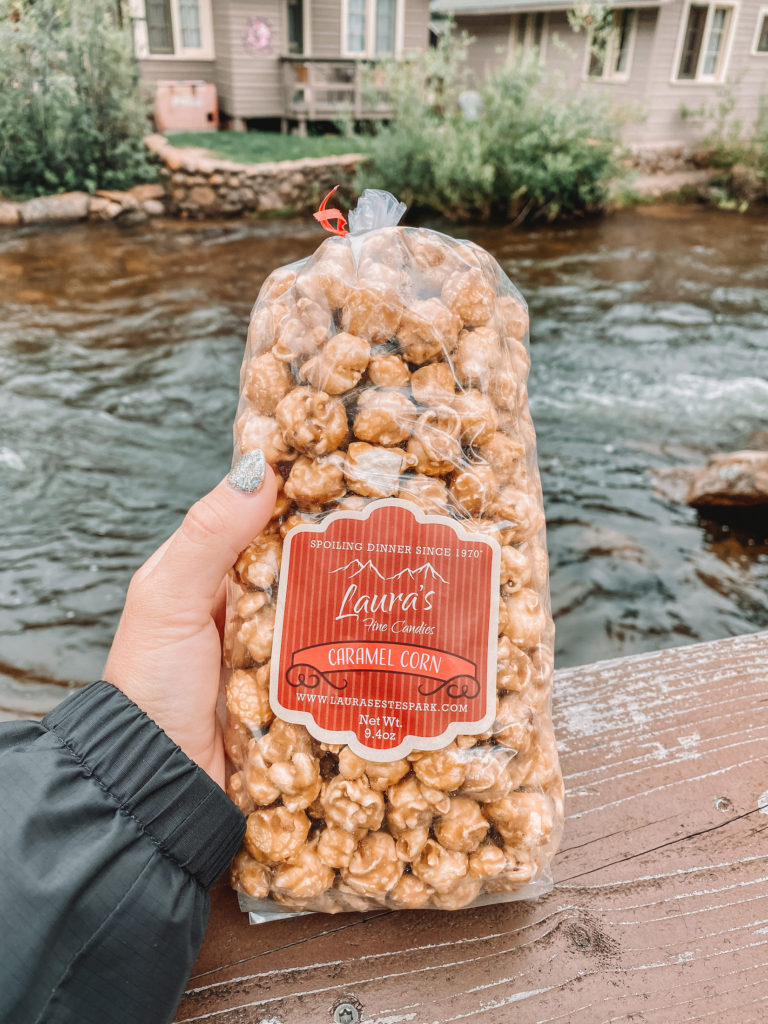
Grab some coffee from Inkwell & Brew, some caramel corn from Laura’s Fine Candies, and some ice cream from The Sundae Saloon.
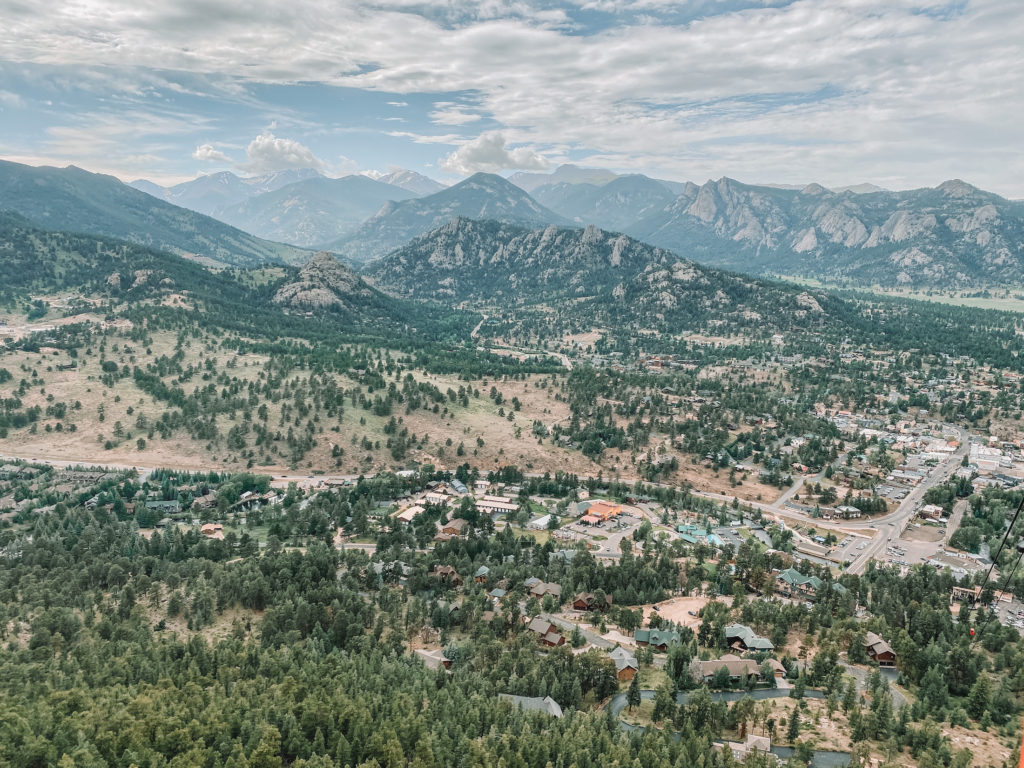
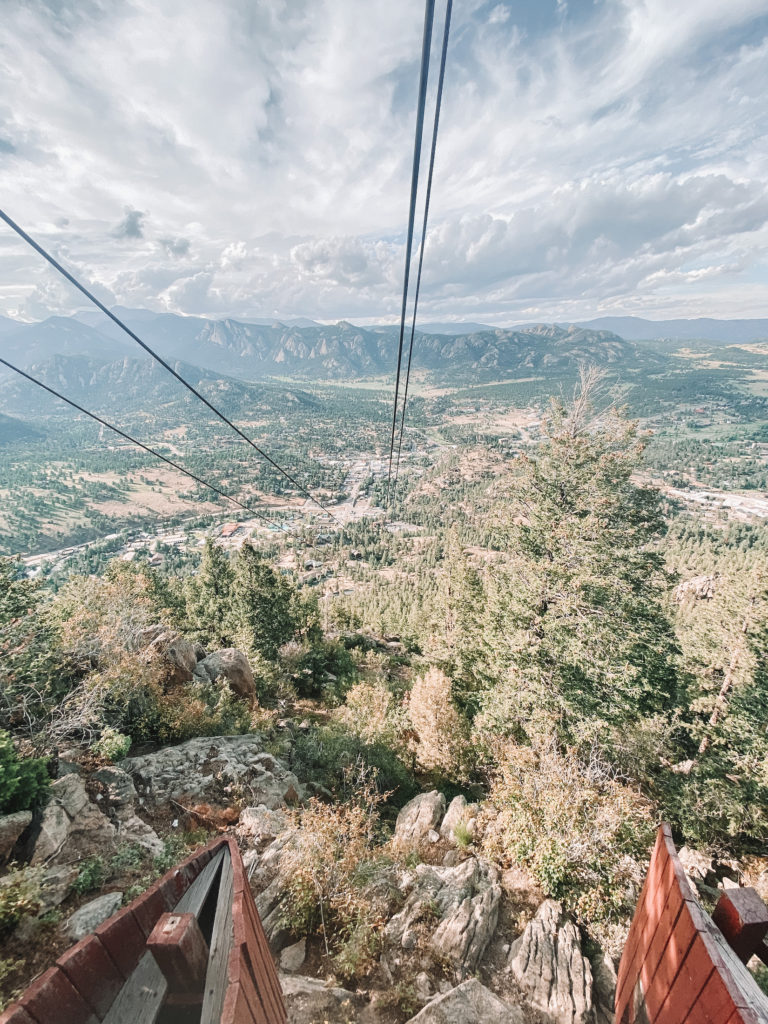
Once you’ve refueled, head to the Estes Park Aerial Tramway. The scenic 3-minute ride up the edge of Prospect Mountain is lovely.
At the top, you can grab a treat from the cafe, hike up to the summit of Prospect Mountain, and take in the spectacular views of Estes Park and the surrounding mountain peaks.
Round-trip tickets for the tram cost $16 and can be bought from the ticket counter.
Day 2: West side of Rocky Mountain National Park
Morning hike at Ute Trailhead
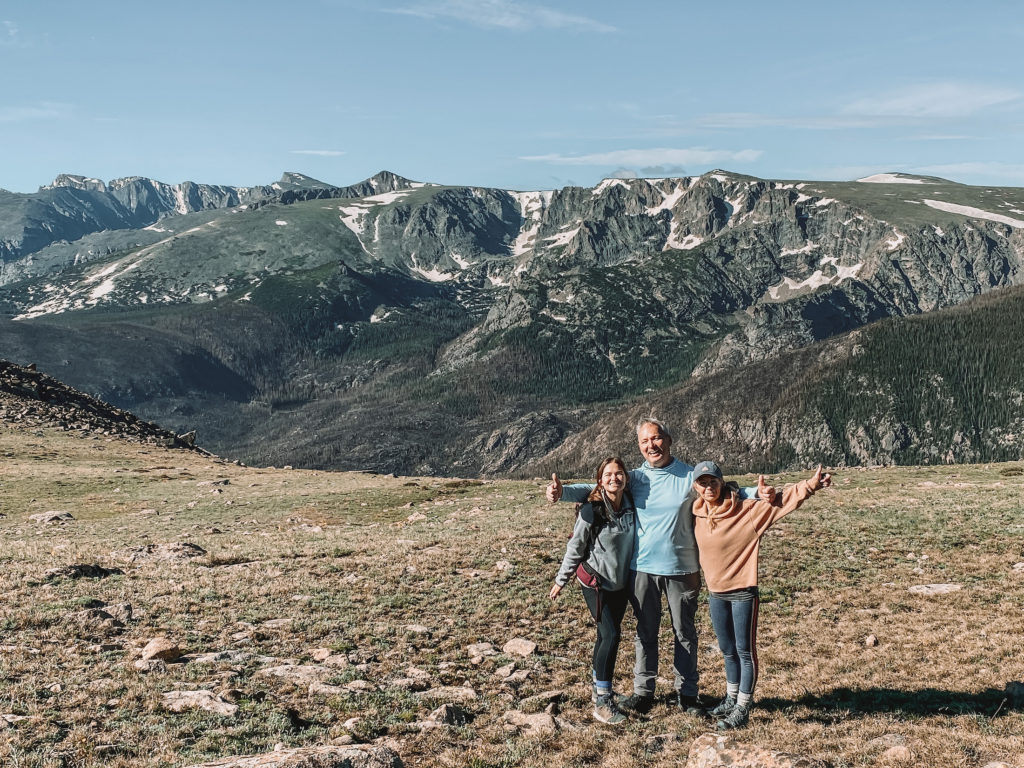
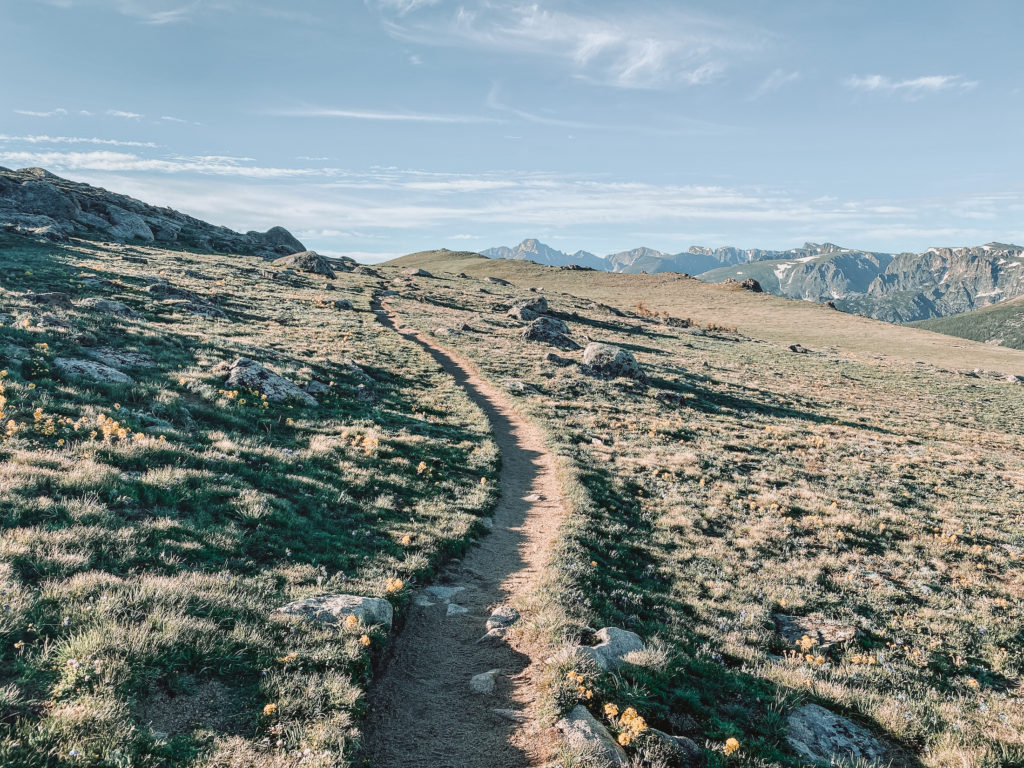
This morning’s hike takes us to Ute Trailhead, located along Trail Ridge Road. The Ute Trail to Tombstone Ridge hike is unique because it’s completely above the tree line — the scenery is rocky, sparse, and very cool to see.
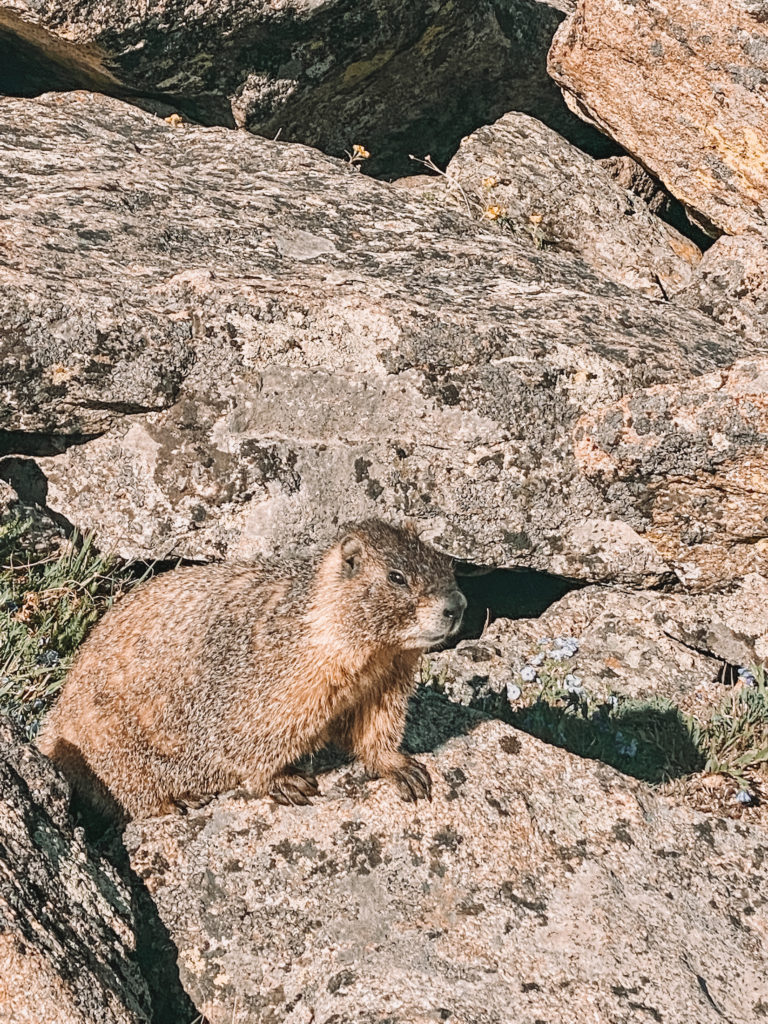
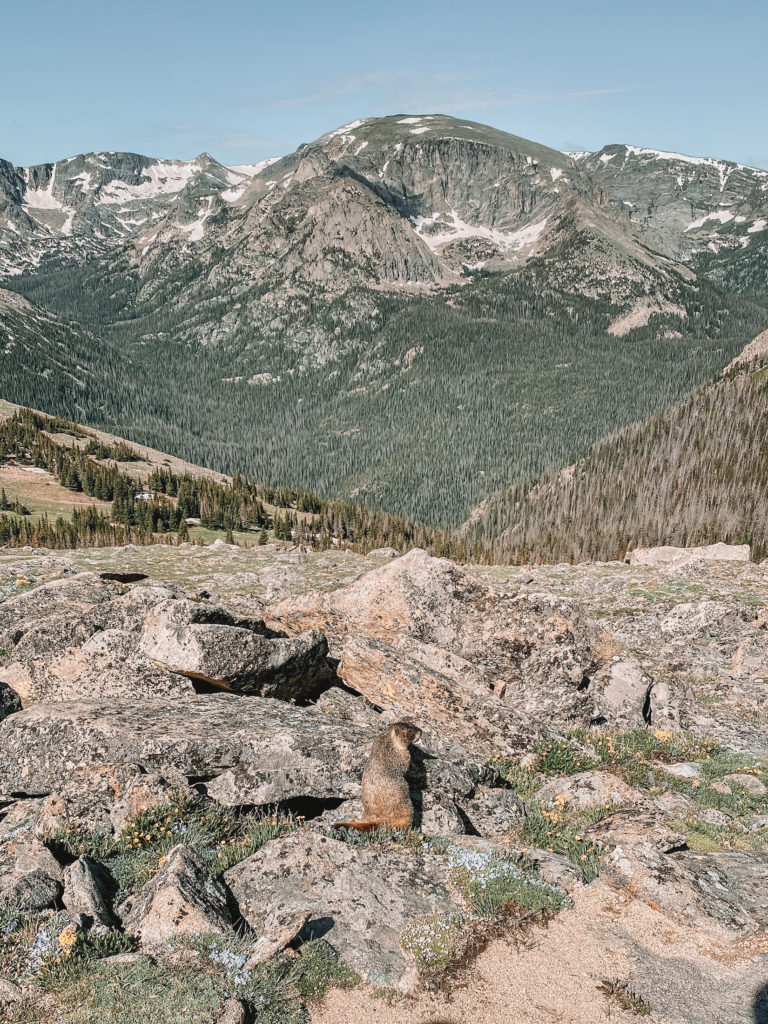
The full hike is 5.6 mi (9 km) out and back, but you can shorten it or extend it by connecting to one of the numerous nearby trails. When we went in early July, the wildflowers were blooming, making the whole trail smell amazing. It’s also one of the best hikes in the area for seeing wildlife, including marmots, bighorn sheep, and elk.
Drive Trail Ridge Road
Trail Ridge Road is a scenic drive that runs across the northern edge of the park. Along the way, there are miles of trails and countless places to pull over and take in the views.
Make sure to check out these spots:
- Many Parks Curve Overlook
- Rainbow Curve Overlook, a great place to watch the sunrise
- Alpine Visitor Center and Alpine Ridge Trail, a steep 0.7 mi (1.1 km) climb to a viewpoint
- Continental Divide, the location where water drains in separate directions
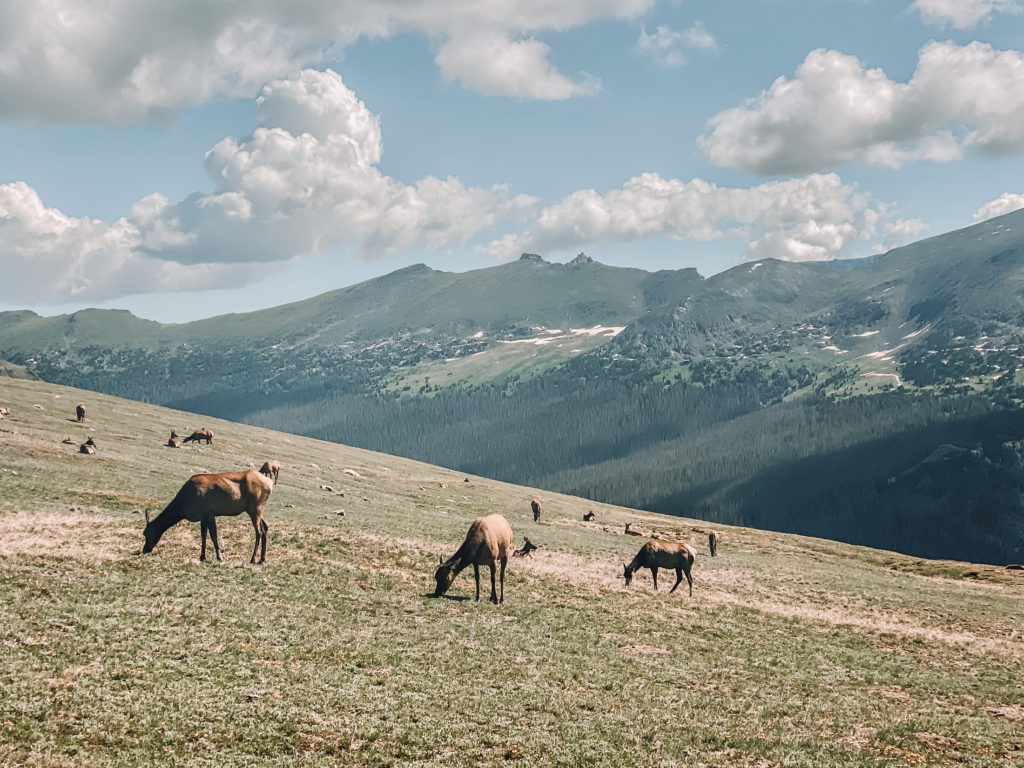
Despite the short distance, Trail Ridge Road isn’t necessarily a short drive — it can take upwards of an hour and a half to drive its length. In my opinion, though, it’s worth driving the whole thing. The views are spectacular and there are lots of chances to see wildlife at the overlooks.
Note: Trail Ridge Road closes in the winter — the weather conditions make it unsafe to drive!
Wildlife sighting at Coyote Valley
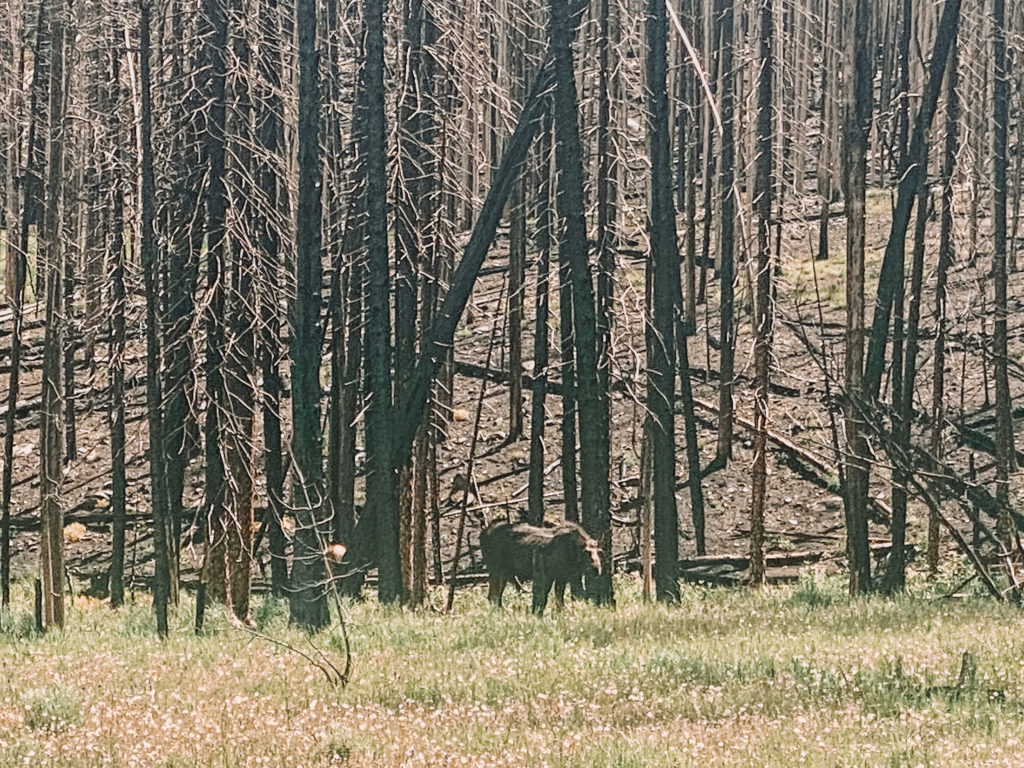
If you’re driving from east to west, the last stretch of Trail Ridge Road is another great place to spot some wildlife. The high elevation drops a bit and the mountain ridges become forests and valleys.
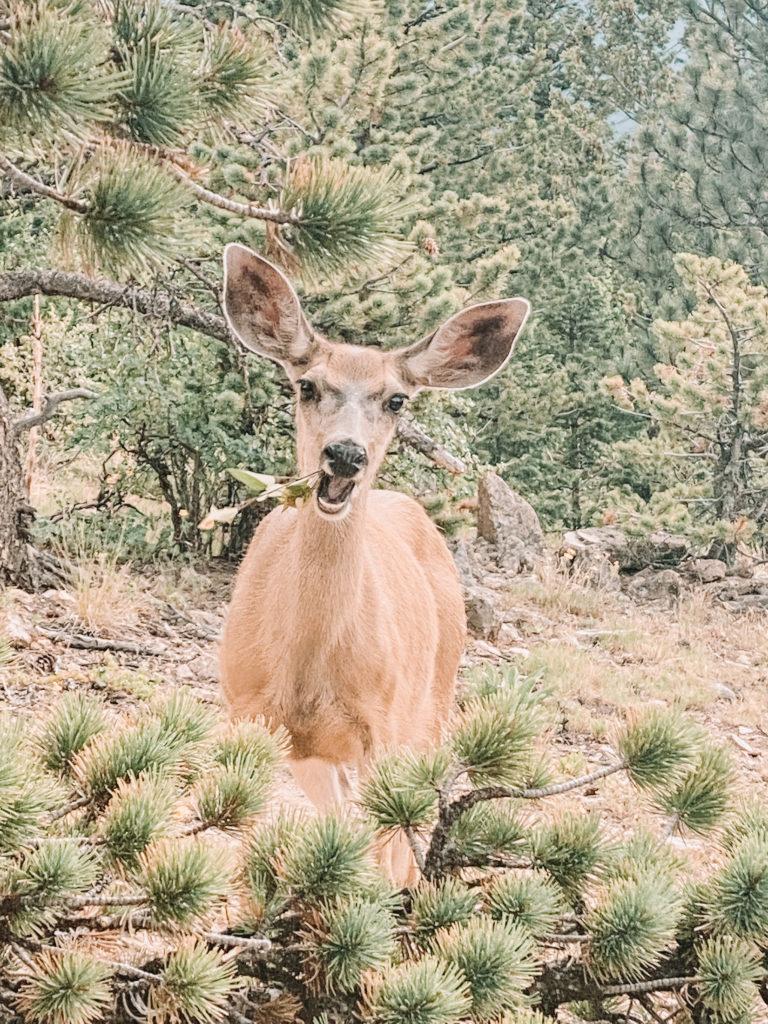
On our drive, we saw a few moose (!!!), deer, and elk. The Coyote Valley Trailhead parking area is a good place to stop.
If you’re trying to see some wildlife here, please be cautious of other drivers on the road. We saw someone almost get rear ended because they slammed on their brakes to look at a moose!
If you have more time
If you have more time on your Rocky Mountain itinerary (lucky you!), here are a few suggestions for things to do.
- Explore Grand Lake: The town of Grand Lake on the park’s west side is a great place to relax by the water on a nice day. Here, you can swim in the lakes or rent a boat, stand-up paddle-board, kayak, etc.
- Do some activities in Estes Park: You can take a scenic flight, go on a guided fly fishing tour, or go whitewater rafting!
- Take a multi-day hike: Backpacking is a great way to see the most unspoiled parts of the park. Some options are North Inlet Trail, Tonahutu Creek Loop Trail, and East Inlet Trail.
How to get to Rocky Mountain National Park
Most Rocky Mountain visitors will fly into Denver International Airport (DEN). From there, the easiest way is to rent a car and drive the 80 mi (129 km), which takes about an hour and a half.
If you don’t have a car, the next best option is to take the Estes Park Shuttle. It runs from the Denver airport and the Estes Valley area to Rocky Mountain National Park. Tickets cost $65 one-way or $115 round-trip from the airport. They can be bought in advance on the Estes Park Shuttle website.
Where to stay near Rocky Mountain National Park
Within the park
- Timber Creek Campground (west side)
- Moraine Park Campground (east side)
- Longs Peak Campground (east side, first come first served)
In Estes Park
- Olympus Lodge ($)
- Hotel Estes ($$)
- The Estes Park Resort ($$$)
- The Stanley Hotel ($$$)
Rocky Mountain National Park FAQs
When is the best time to visit Rocky Mountain National Park?
With over 4.5 million visitors a year, Rocky Mountain National Park is one of the most popular National Parks in the United States. The summer months (June through August) will be the most crowded, but you’ll also get better weather and blooming wildflowers. Autumn (September and October) can also be pretty busy because the changing leaves make for great pictures.
Winter (November through February) can be a great time to visit to see snow, but certain roads and campsites will be closed. Spring (March and April) is generally still snowy and wet, but will have fewer crowds.
In my opinion, May, June, and September are the best months to visit Rocky Mountain National Park.
How long should I spend at Rocky Mountain National Park?
Anywhere between 2 and 5 days is a good amount of time to spend at Rocky Mountain National Park.
If you only want to see the highlights and aren’t that interested in hiking, one day could be sufficient. Two days, however, is long enough to hit the most popular sites, do a few hikes, and have a bit of downtime.
Rocky Mountain National Park packing list
- Tripod: These are essential to getting good pictures, especially when hiking with no one else around!
- Rain jacket: Rain is basically expected most days. This North Face jacket kept me dry, even during heavy rain!
- Merino wool hiking socks: Never wear cotton socks to hike — trust me. Merino wool is the best for wicking away sweat!
- Baseball hat: For sun protection and style
- Headlamp: For sunrise or sunset hikes
- Reusable water bottle: An obvious essential. I love this stainless steel Camelbak one
- Hiking backpack: A comfortable backpack makes all the difference
- Portable charger: To keep your devices charged in the wilderness
You’ll also love:
- How Much Does an Iceland Trip Cost? My 12-Day Budget Breakdown
- The Best Places to Visit on New Zealand’s South Island: A Definitive List
- Is Business Class Worth It? Confessions From A Budget Traveler
Thanks for reading this 2-day Rocky Mountain National Park itinerary! If you have any questions or comments, please let me know in the comments below.
xoxo Niki
