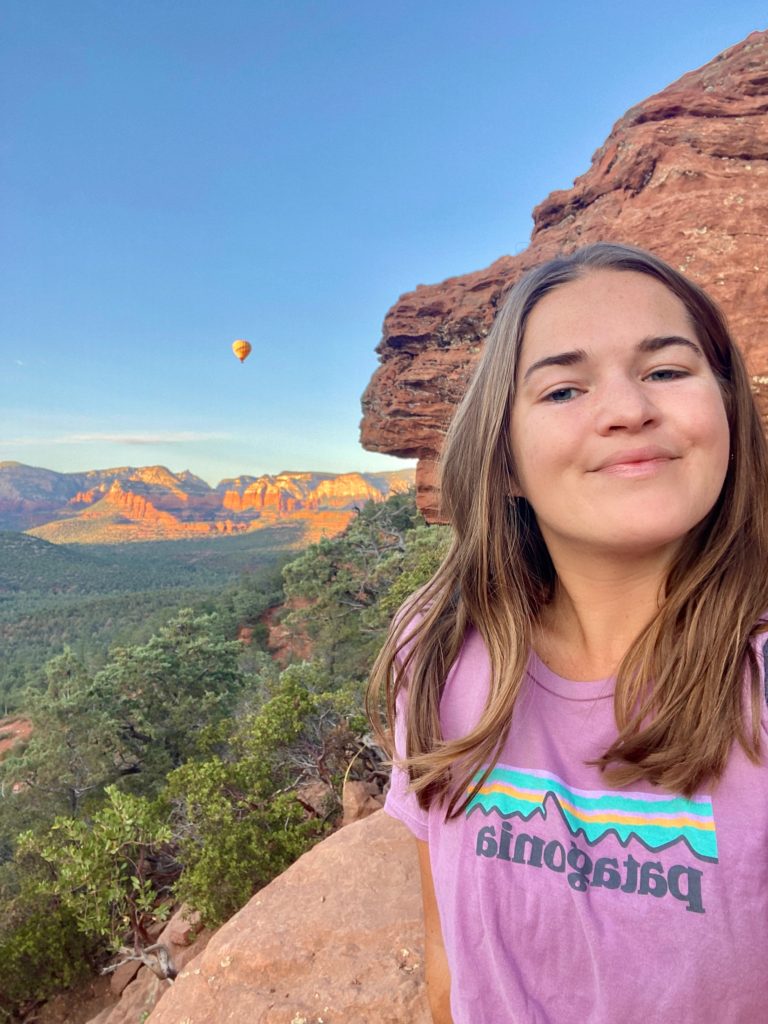
You might have seen it on social media — a hiker standing on a long, narrow arch with a seemingly endless plunge into the valley below. This is the Devil’s Bridge, one of the most popular hikes in Sedona. Read on for a full hike guide and information on how to best conquer the bridge!
Disclosure: Some of the links below are affiliate links. When you purchase through links on my site, I may make a small commission (at no extra cost to you!).
General information
- Type of hike: Out and back
- Difficulty: Easy (moderate once the sun comes up)
- Elevation gain: 400 ft / 122 m
- Length: 4 mi / 6.4 km roundtrip
- Time: 2–3 hours
(Distances and times are measured from the Mescal trailhead.)
Which trailhead should you start from?
Driving (with a 4×4)
The only way you can park directly at the Devil’s Bridge trailhead is by driving a 4×4 down Dry Creek Road. You’ll need to have a high-clearance 4×4 — do not attempt this in your SUV or rental car! There is a small dirt parking lot at the end of Dry Creek Road that goes directly up to the bridge. Driving to the Devil’s Bridge trailhead will essentially cut your hike in half, making it only 2 miles (3.2 km) roundtrip.
Hiking
Dry Creek Road to Devil’s Bridge Trail: This is the most popular (and most direct) way to make it to the bridge. You’ll park at the Dry Creek Trailhead parking lot at the beginning of Dry Creek Road. You then walk up the same road that the 4x4s drive until you reach the Devil’s Bridge trailhead. Starting at Dry Creek Road will make your roundtrip hike 4.2 mi (6.8 km) total.
Chuckwagon Trail to Devil’s Bridge Trail: The Chuckwagon Trail also starts at the Dry Creek Trailhead parking lot. After parking, you’ll take the Chuckwagon Trail towards Devil’s Bridge. The trail runs parallel to Dry Creek Road but is a bit longer and more scenic. Starting from here, your entire hike will be 5.8 mi (9.3 km) roundtrip.
Mescal Trail to to Devil’s Bridge Trail: This is the trailhead I decided to start from and I highly recommend it! The Mescal Trail begins from the Mescal Trailhead parking lot. You’ll follow Mescal Trail for a bit before branching off onto the Chuckwagon Trail and finally, the Devil’s Bridge Trail. The path is scenic, well-marked, and easy to follow.
Best time to hike Devil’s Bridge
Like most hikes in Sedona, the Dry Creek Trailhead and Mescal Trailhead parking lots fill up very quickly every day. For that reason, I highly recommend starting this hike earlier than you’d think is necessary.
I arrived at the Mescal Trailhead parking lot at 5 am on a Sunday and the lot was already over half full. The more popular Dry Creek Trailhead will fill up even faster depending on the day. If the Devil’s Bridge hike is something you’re set on doing, bite the bullet and set your alarm to get there before the sun rises.
Side note: getting an early start on this hike has the added benefit of making it to the summit before the sun gets too high in the sky. I thought this hike was on the easier side because I wasn’t sweating the whole time. If it was mid-afternoon, however, it would have been much more difficult!
Devil’s Bridge overview
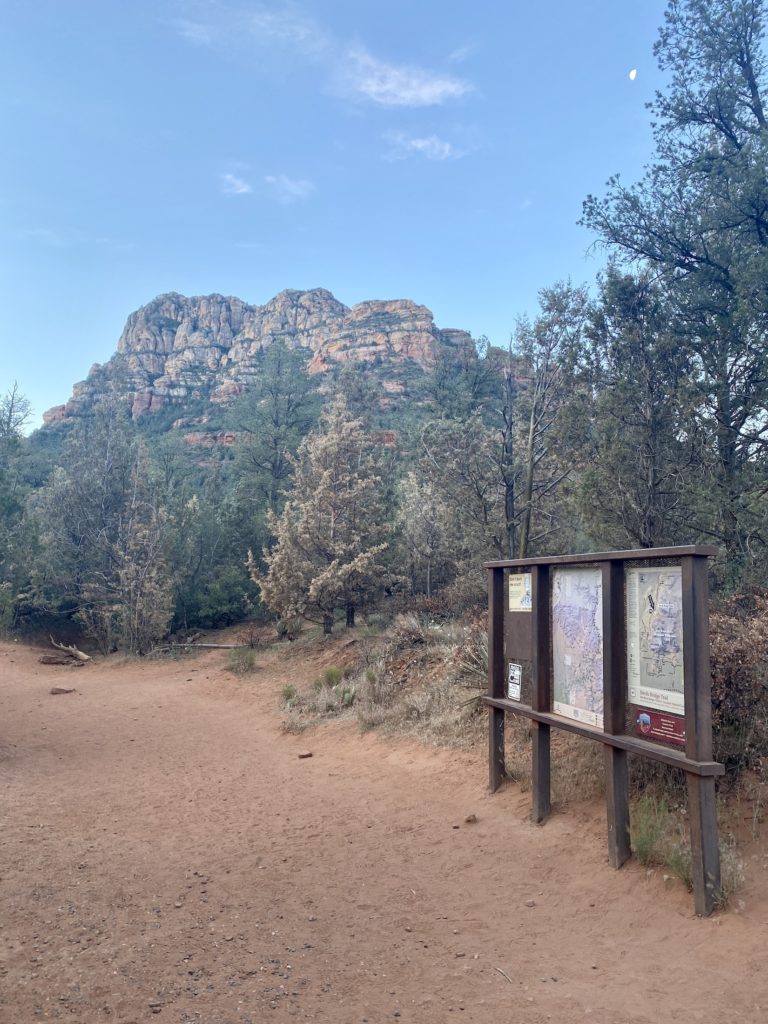
Mescal Trailhead
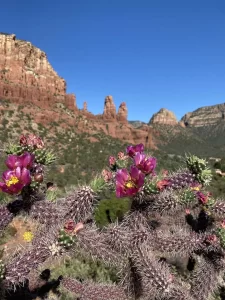
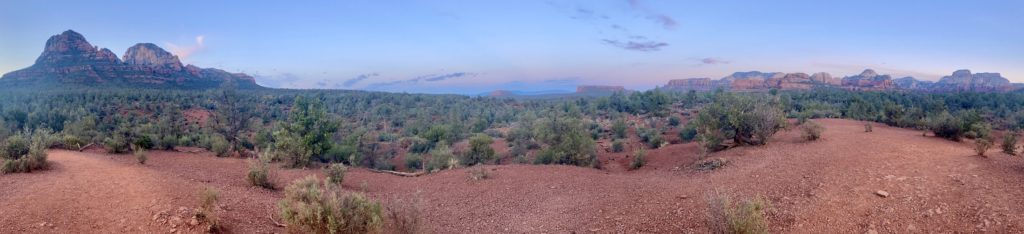
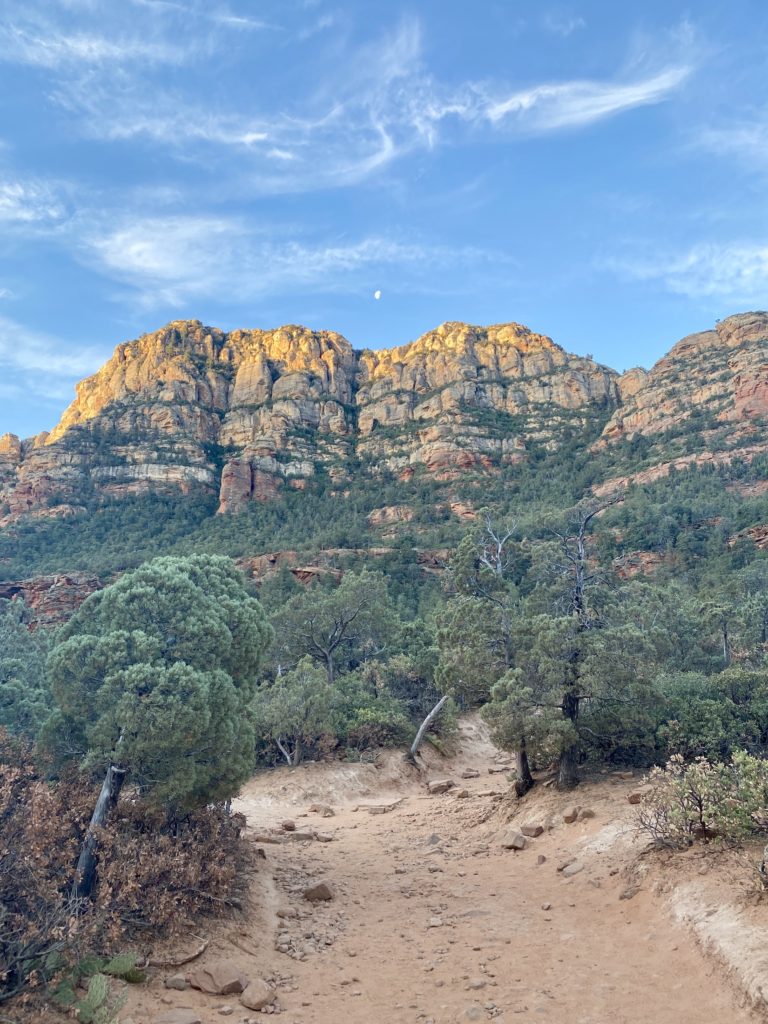
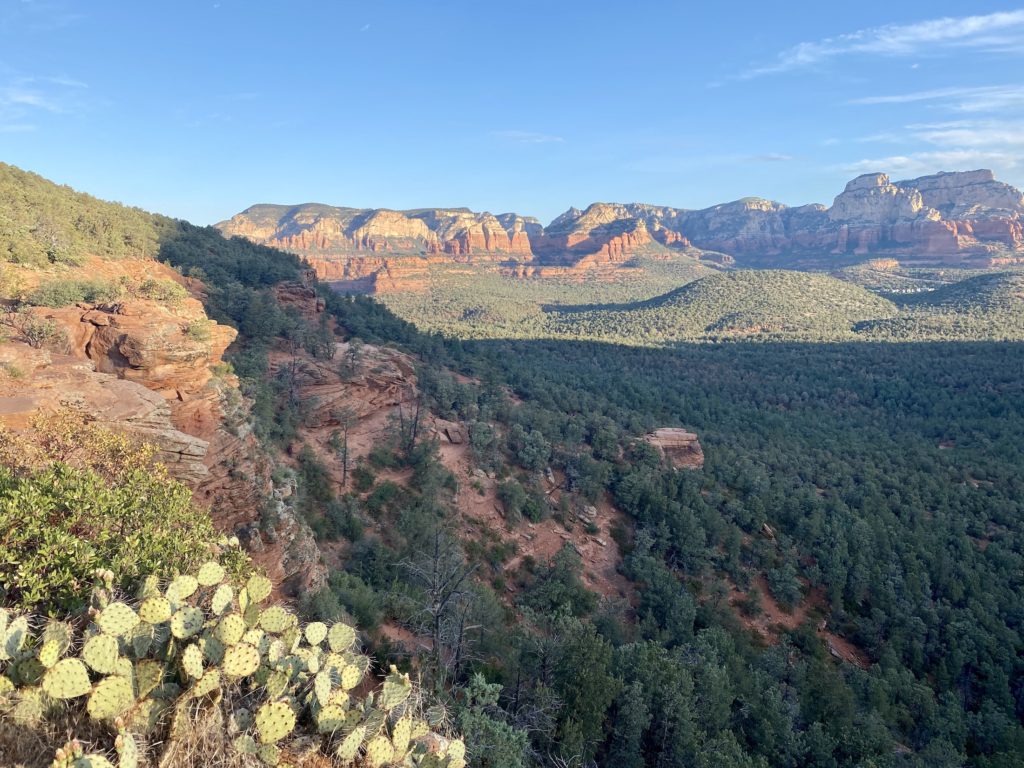
The Mescal Trail starts off pretty mellow. It winds through a sparse forest and eventually makes its way onto an exposed plateau with 360° views of the surrounding rock formations. There’s not much elevation gain at this point, making for a really pleasant walk.
If you’re going to attempt the Devil’s Bridge hike in the middle of the day, I’d recommend starting at the Mescal Trailhead because it has more shade than the other options.

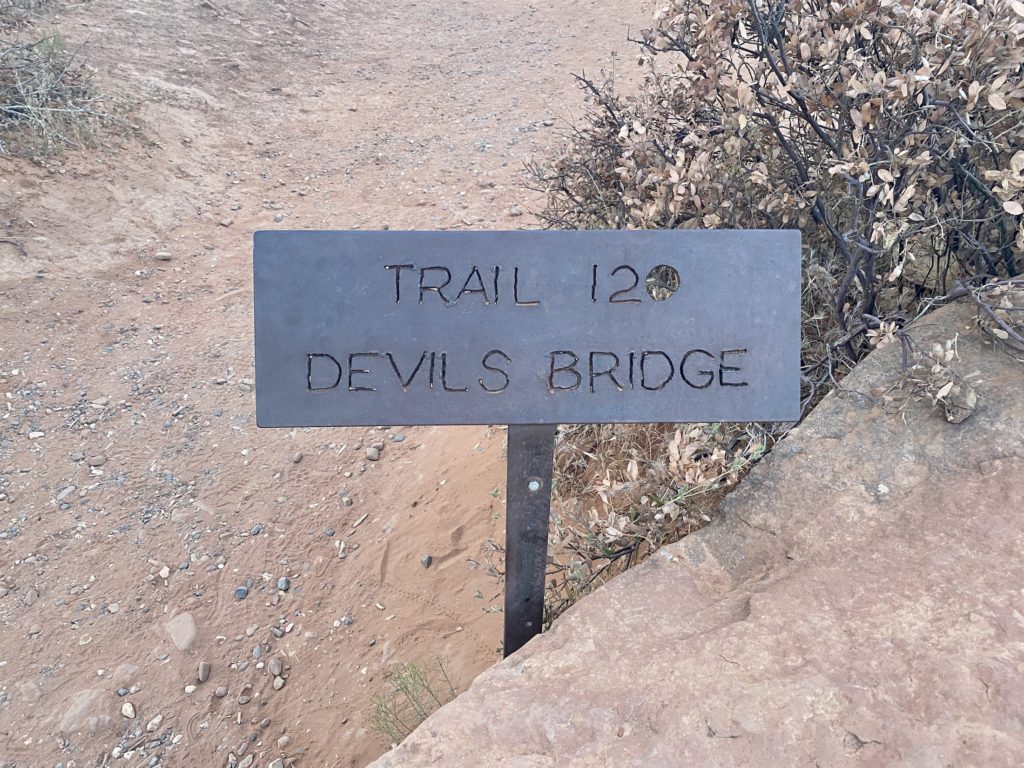
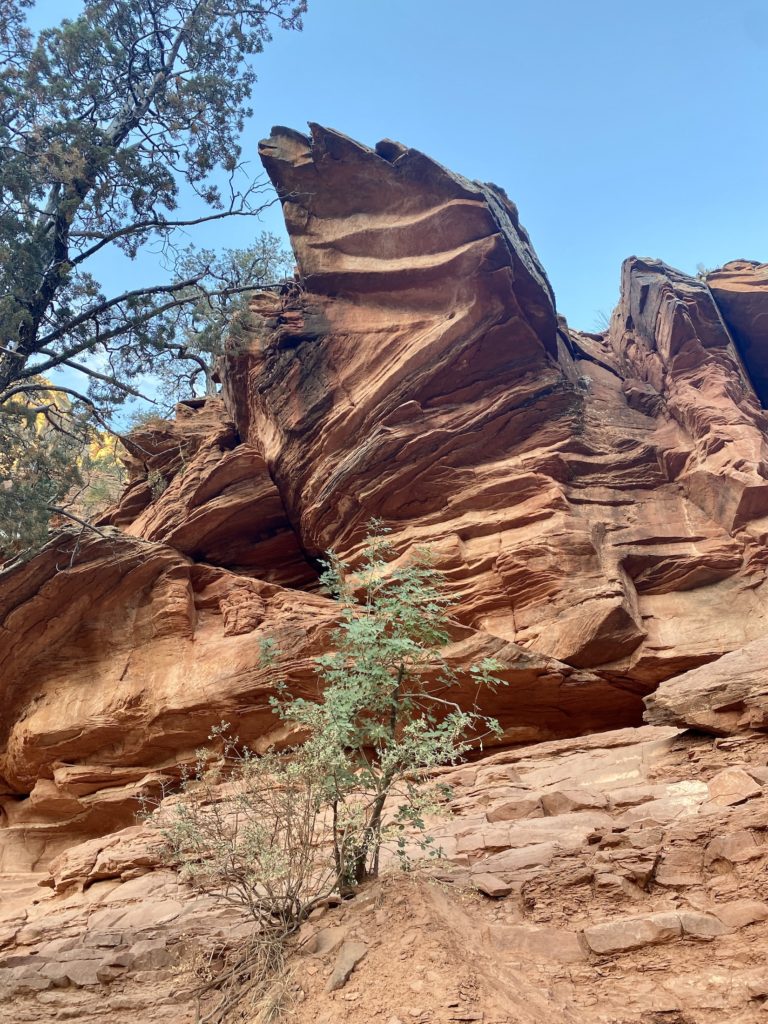
Start of Devil’s Bridge
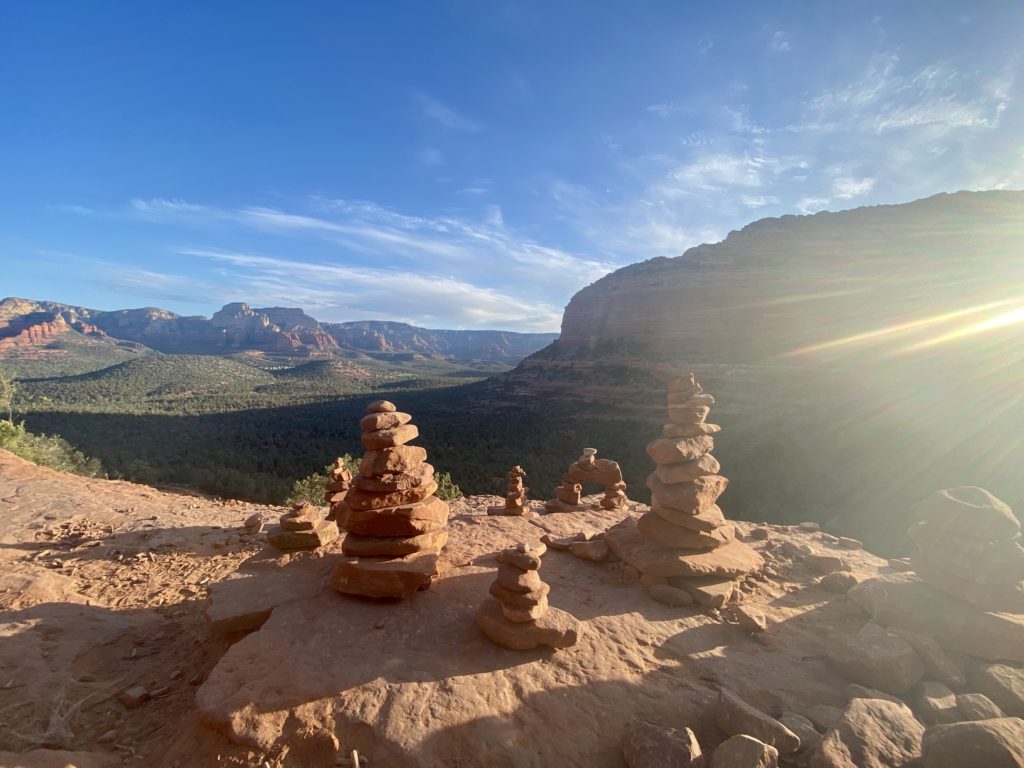
After the turn-off to Devil’s Bridge, the path got noticeably steeper. At first, the path was mostly a wide, uneven staircase with a slight uphill incline. After a while, that path turns into some steep steps, and eventually, it requires a bit of scrambling to make it to the top. About two-thirds of the way up, there is a lovely plateau with lots of space to take some nice pictures.
The scramble at the end isn’t too strenuous, though, because it was over before I knew it. I ended up reaching the summit right as I started getting tired.
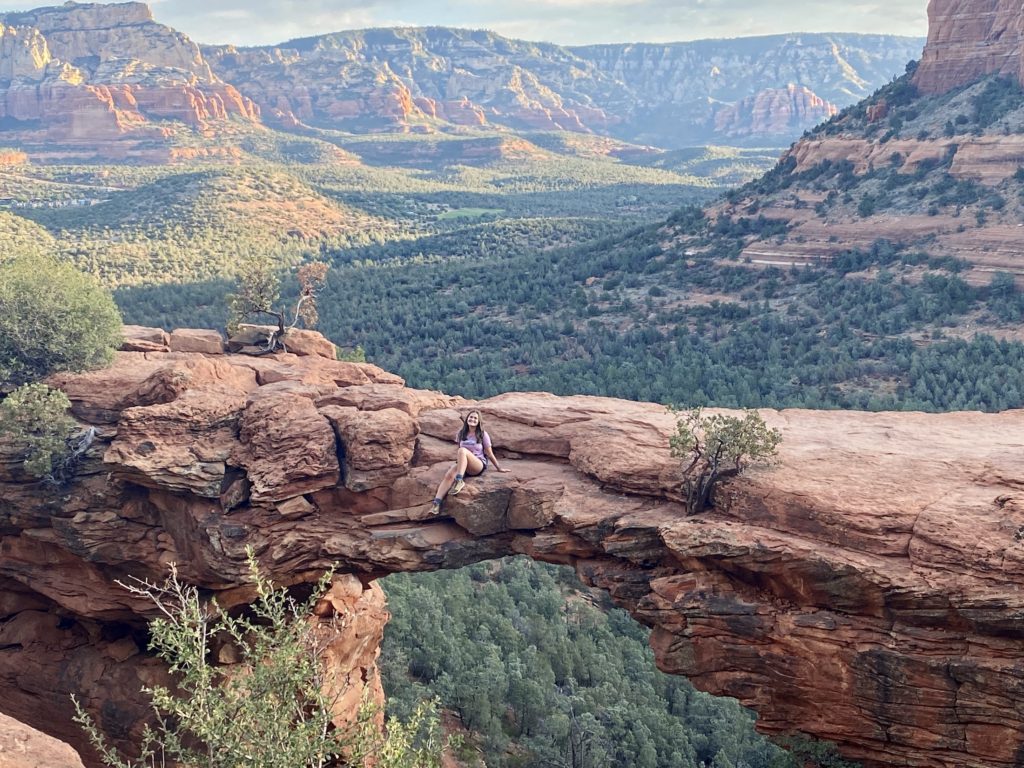
The summit
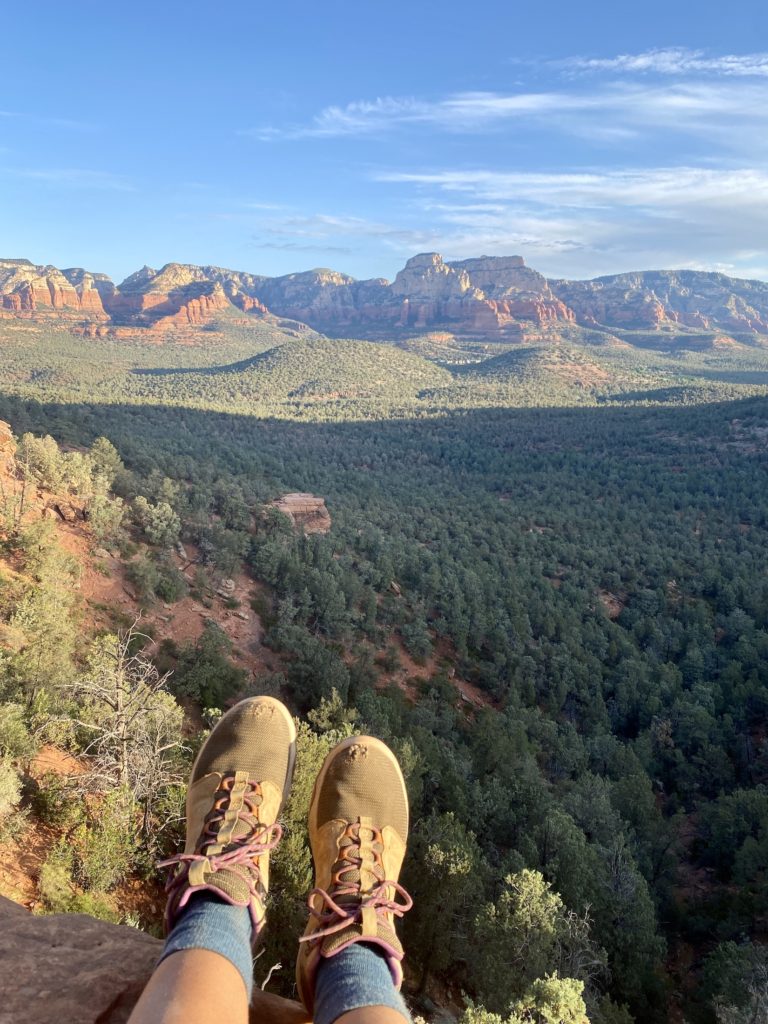
The view from the top was nothing less than stunning. Sometimes, the most popular attractions can seem overrated or underwhelming — Devil’s Bridge was neither of those.
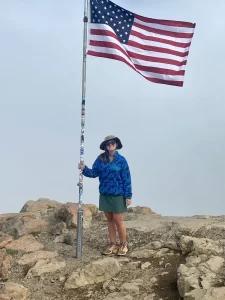
I reached the summit at 5:55 am on a Sunday morning, and there were already about 15 people around the bridge. There’s a decent amount of space around it to sit and enjoy the view or to line up and wait for your picture. Everyone was very friendly and willing to help out the solo hikers (me!) by taking their pictures.
As for how scary it was? In reality, the bridge is much wider than it looks — it’s definitely scarier watching somebody walk across than doing it yourself!
Once you’re done soaking in the view, you go down the same way you came up. The entire hike, including time spent at the top, took me just over 2 hours to complete.
Devil’s Bridge packing list
- Hiking boots: For this hike, I’d recommend wearing hiking boots over normal sneakers to help with traction. The Teva brand boots I have linked are my ride-or-die hiking shoes.
- CamelBak: It’s so much easier to stay hydrated when you have a hands-free straw!
- Sunscreen: An absolute must for any hike. The La Roche-Posay sunscreen I linked is my favorite.
- Sunglasses: These ones are cute and look like Raybans (for much cheaper!).
- Hiking hat: Definitely a bit nerdy, but I’d rather look nerdy than have a sunburned face.
- Tripod: I bring this everywhere. A must for solo trips!
Book a tour in Sedona
Looking for more things to do in Sedona? Check out my 2-day Sedona itinerary!
xoxo Niki